Setup Voice Chat Using TeamSpeak
“I watched your face from the shadows,
distant through all the applause.
I hear you voice in the darkness,
yet the words aren't yours.”
— The Phantom of the Opera
Prologue
Do you play PVP in your favorite game? If so, do you talk with your friends? And again, is the built-in voice chat satisfying? I’m afraid not. Games only provide the basic voice function, which is not optimal. Therefore, you may need a dedicated voice chat software.
Here, I’d like to introduce to you — TeamSpeak. Below is its bio.
“Use crystal clear sound to communicate with your team mates cross-platform with military-grade security, lag-free performance & unparalleled reliability and uptime.”
You can directly use the public servers, but in case you’re not able to connect, or having a high ping, I’ll show you how to setup your own server.
TeamSpeak is totally free for small team no more than 32 members, so don’t worry about your money.💸
Client Setup
Go to its download page for the latest TS5 Client. After account registration, you are off to go! 😀
You may find the verification link in the junk email.😥
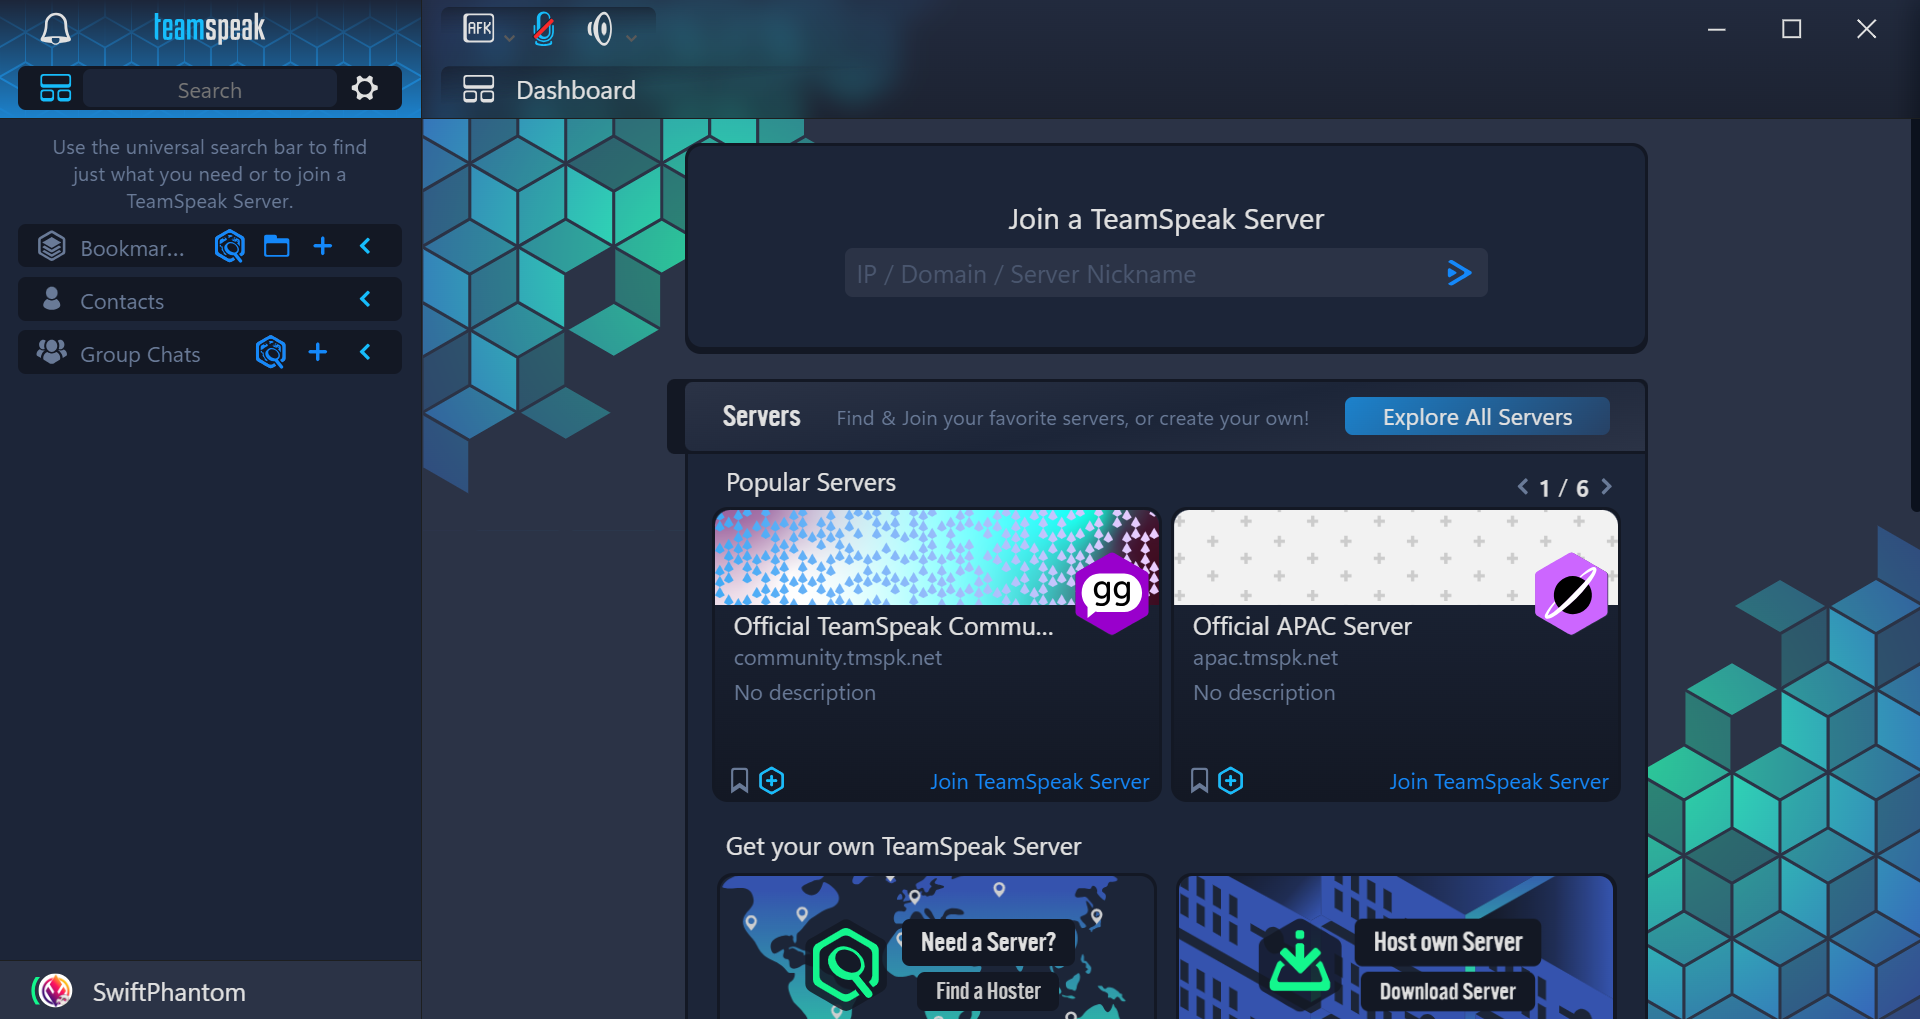
In the dashboard, you can find all the public servers around the world. Pick one and test your voice. If it fails to initialize connection, don’t worry, you can set up your own in the following chapter.

There are more features for you to explore, have fun!
Server Setup
Well apparently, you need a server to continue. 🥺
Initialize Server
You should allow UDP at port 9987 on your server, which is the default port used by TeamSpeak.
Go to the server download next to the client, and you’ll get a tar.bz2 archive. I recommend you create a new directory to store the server, and untar it. Choose 32bit or 64bit depending on your server. Below is the 64bit version.
1 | tar -xvjf teamspeak3-server_linux_amd64-3.13.7.tar.bz2 |
Then, go to the directory, and run the start script.
1 | cd teamspeak3-server_linux_amd64-3.13.7 |
On the first launch, you’ll be prompted with the privilege key with the following text. It makes you the Administrator of your server, so make sure you have it copied.
1 | ServerAdmin privilege key created, please use it to gain |
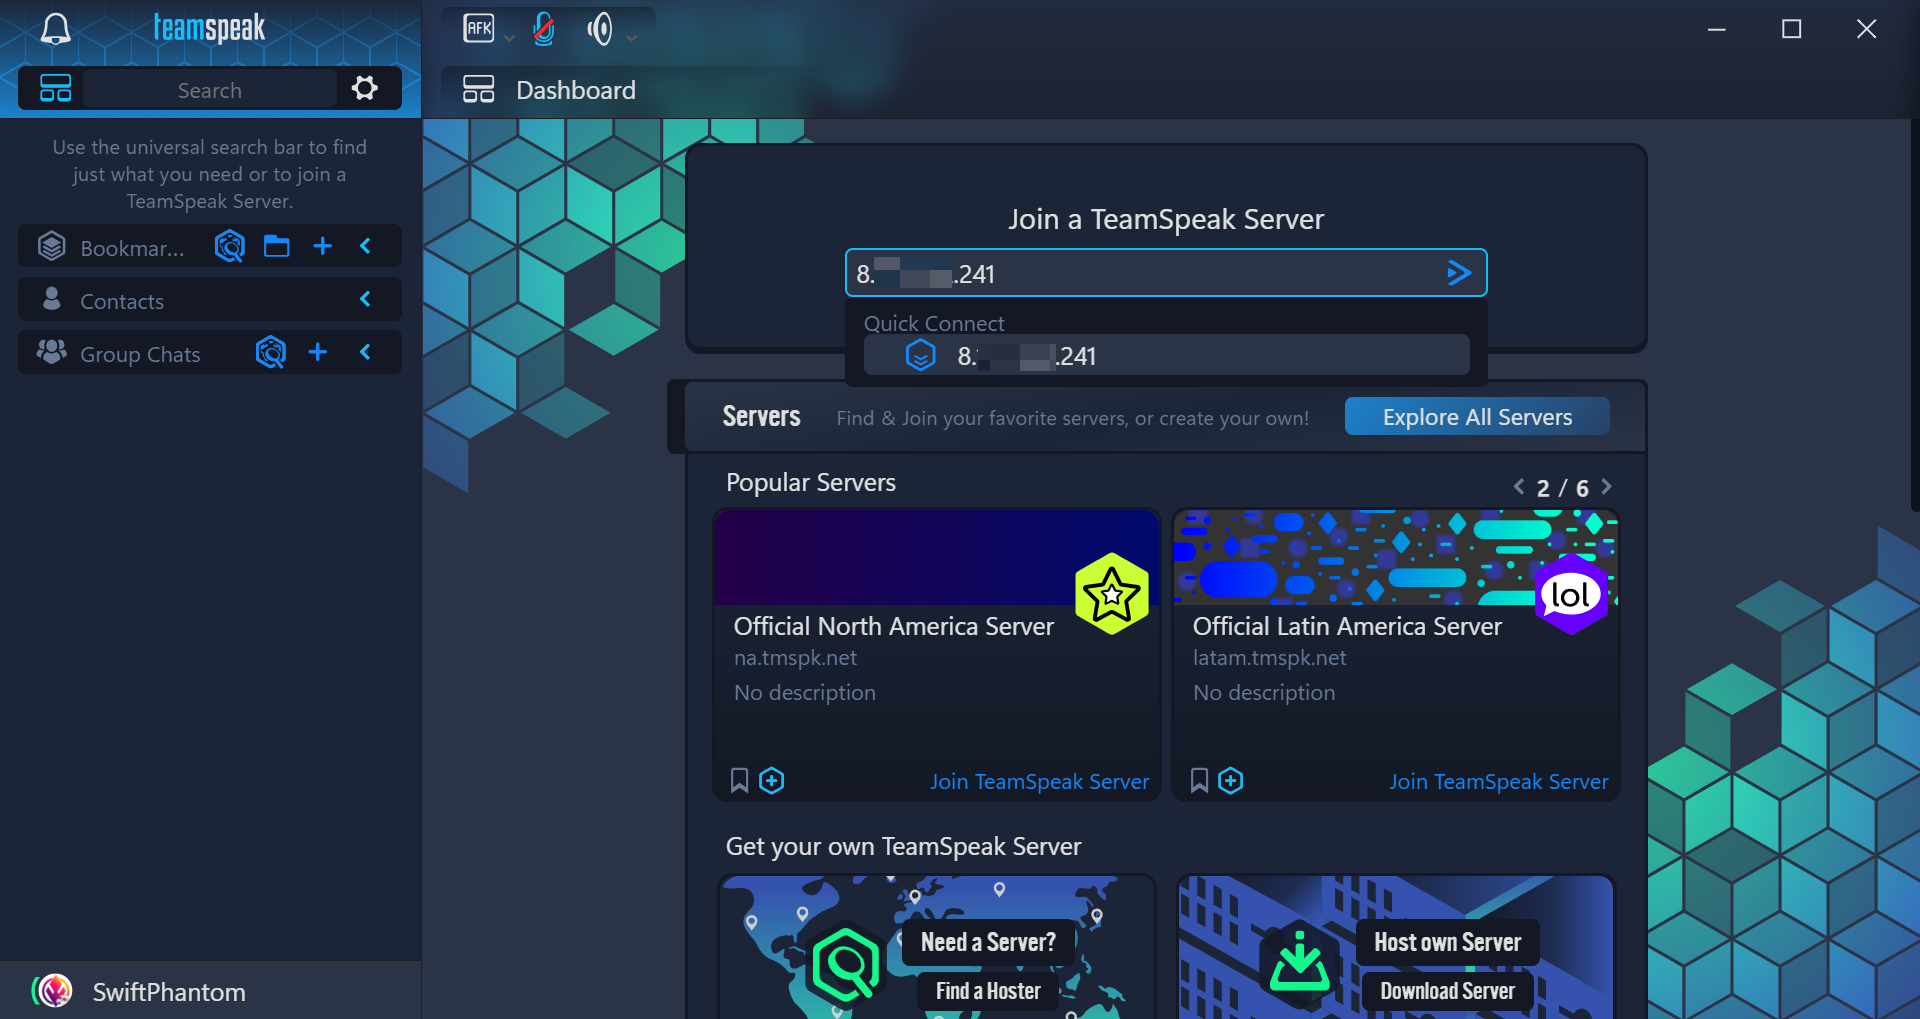
Then, go to TeamSpeak client, enter your server’s IP, and connect. On your first connection, you’ll be prompt to enter the privilege key in the last step. After that, you are the master of your server!

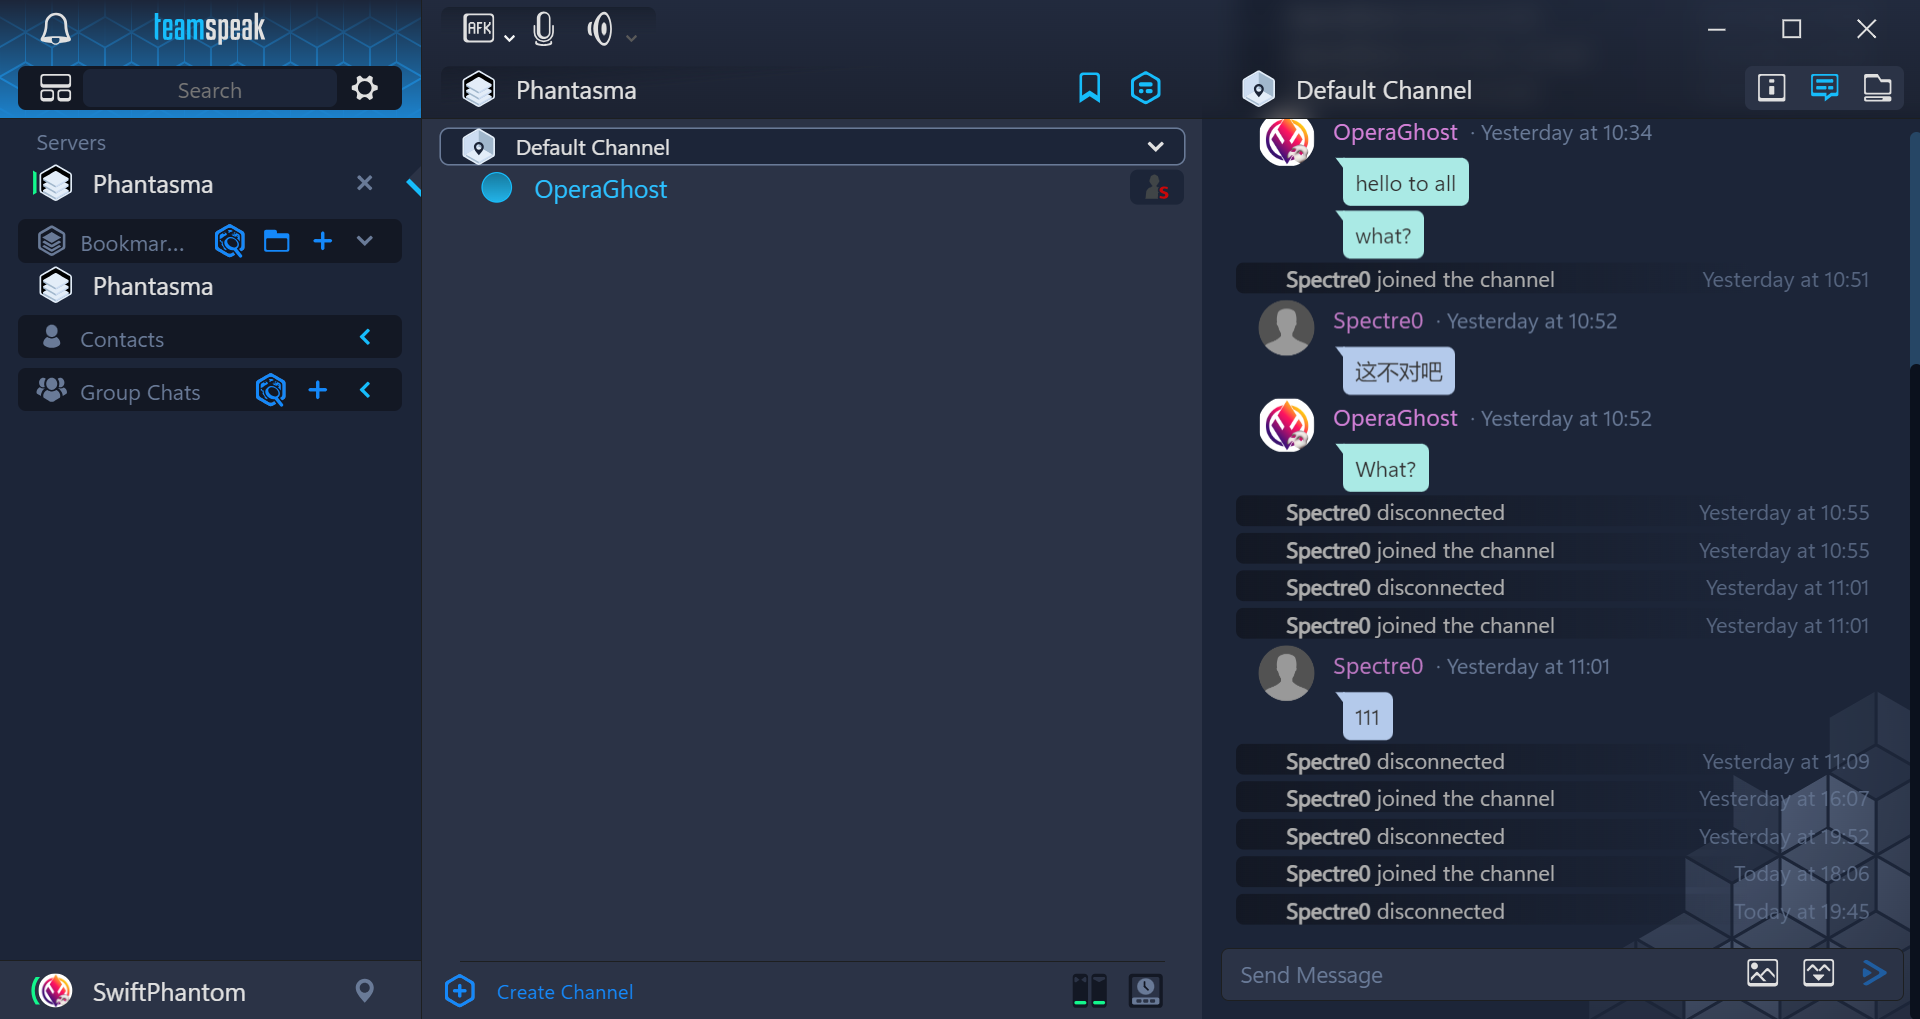
After connection, you can see the active server on the left panel. By default, everyone is in the Default Channel. By clicking the server on the left, you can open the chat panel. By the way, see how fast it is with your private server? Extremely low ping.

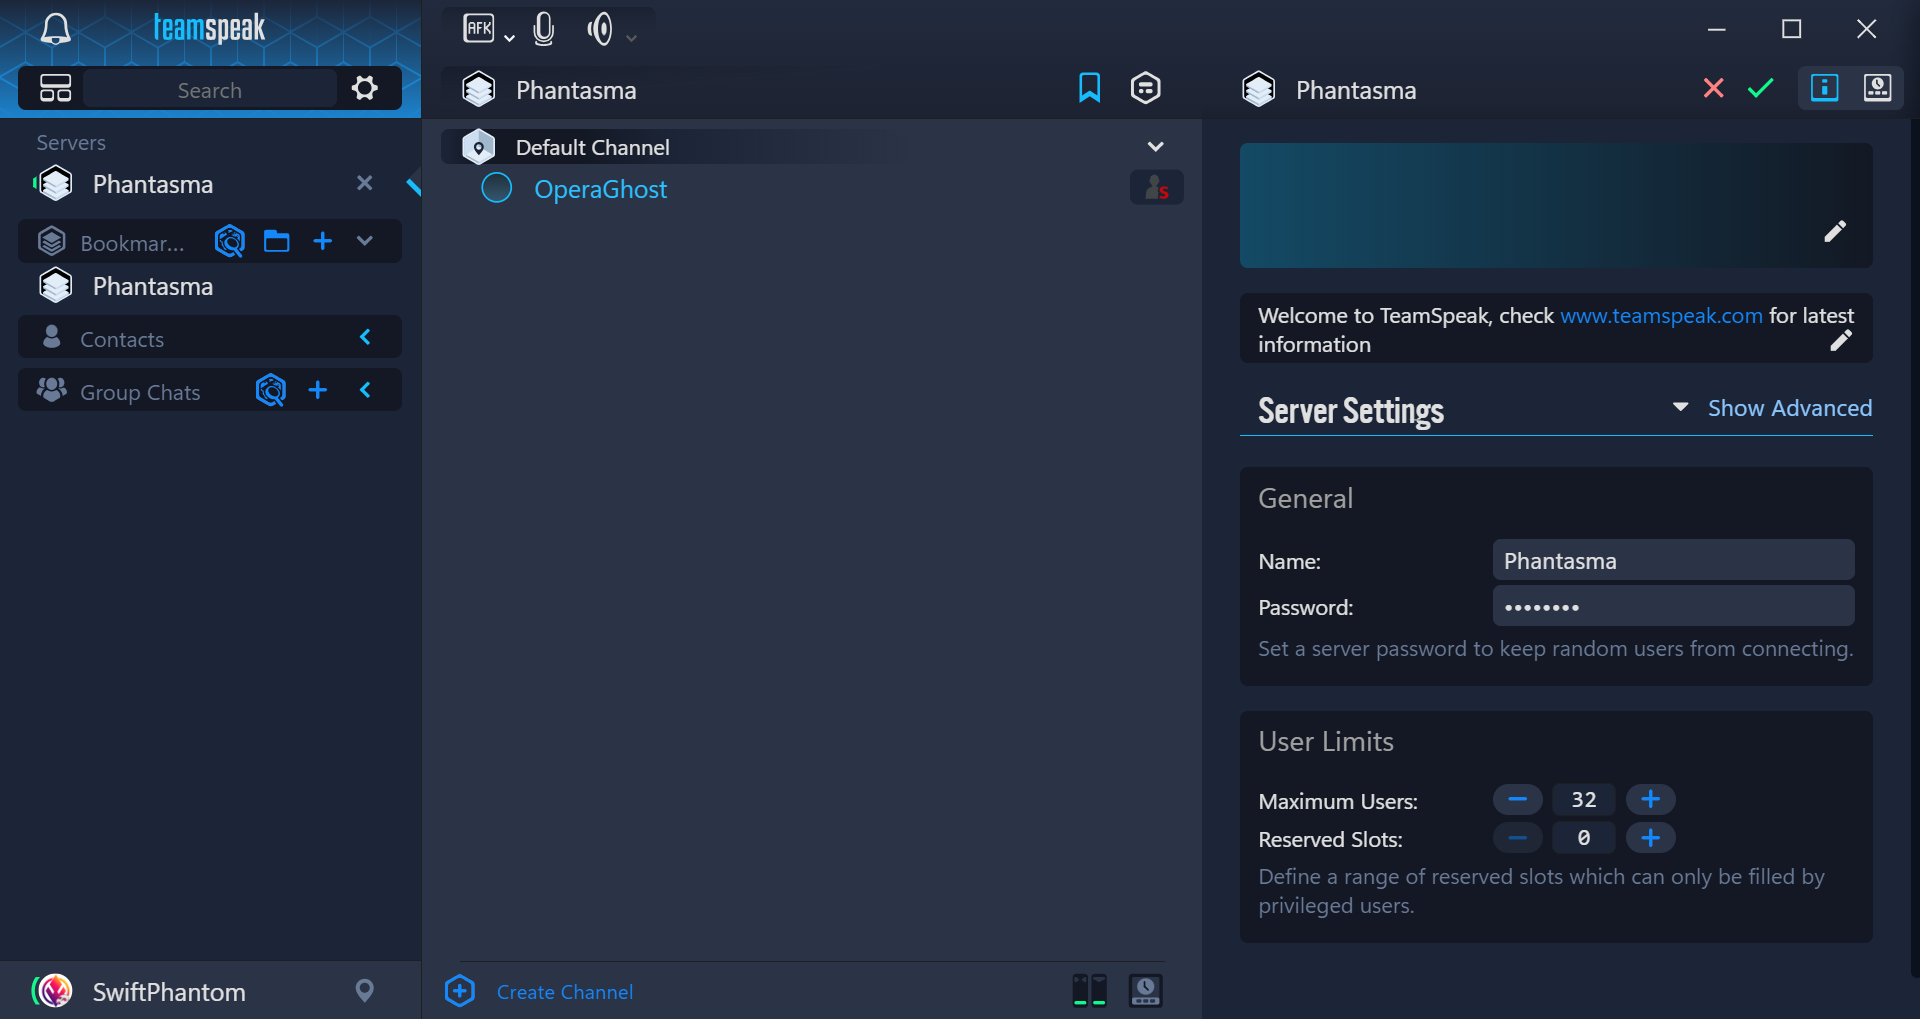
Additionally, you can change the server settings, such as adding a password and many more.

Great, now go invite your friend to have a chat!🎉
Utility Scripts
However, you may notice something annoying. The server runs in the foreground, which means it shuts down if you close the SSH session with your server. To solve this, we can put it background.
To make it simple, I renamed the long name teamspeak3-server_linux_amd64-3.13.7 to server. Then, create a start.sh and stop.sh next to it, so your workspace will look like this.
1 | teamspeak |
In start.sh, you need to set an environment variable to indicate that you agree the License. It is optional for you to save the PID in a file. But notice that, the TeamSpeak server also uses ts3server.pid, so don’t mess them up, or the server won’t be started or stopped correctly.
1 |
|
Then, in stop.sh, just stop it.
1 |
|
Now, you can simply start/stop your TeamSpeak server in the background!🎊
Epilogue
Let the professional handle this. And TeamSpeak is the solution to voice chat in game. And perhaps, more than game? ᓚᘏᗢ


