Using RabbitMQ in Spring Boot Application
“Don't let the noise of others' opinions drown out your own inner voice.”
— Steve Jobs
Prologue
As we learned about RabbitMQ in the previous article, we can now use it in our application. Here, I’m going to demonstrate it in a Spring Boot application as I recently came into one.
You might need IntelliJ Ultimate to proceed.
A Demo Project
You can find the complete code at RabbitMqDemo. 😉
To better demonstrate AMQP, I decided to use two separated projects. However, in order not to mess up, we can set up a mono repo solution. Unlike Visual Studio, who naturally supports multi-project solution, JetBrains IDE can only achieve this by open a folder.
To set up a mono repo project, simply open a folder, and create projects inside of it.
Initializing the Project
Well, first of all, let’s create our project from scratch. Here I use IntelliJ IDEA Ultimate, you can choose your favorite IDE or Spring Initializer. Let’s use Spring 3 and the following dependencies. These should be more than sufficient for our demo.
- Spring Boot DevTools
- Lombok
- Spring Web
- Spring for RabbitMQ
Your workspace may look like this after creating two projects inside the folder, but IDEA does not recognize them.
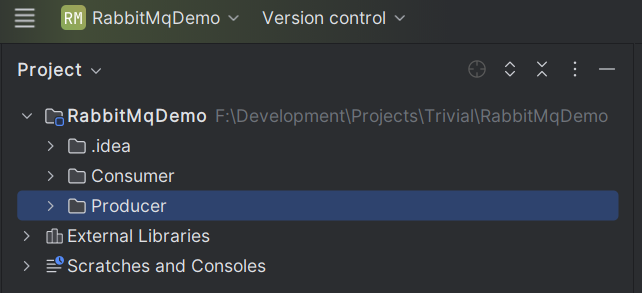
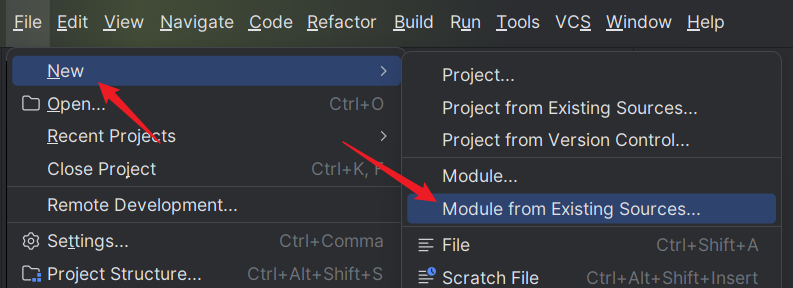
What you should do is to add them as modules by adding the corresponding pom.xml.
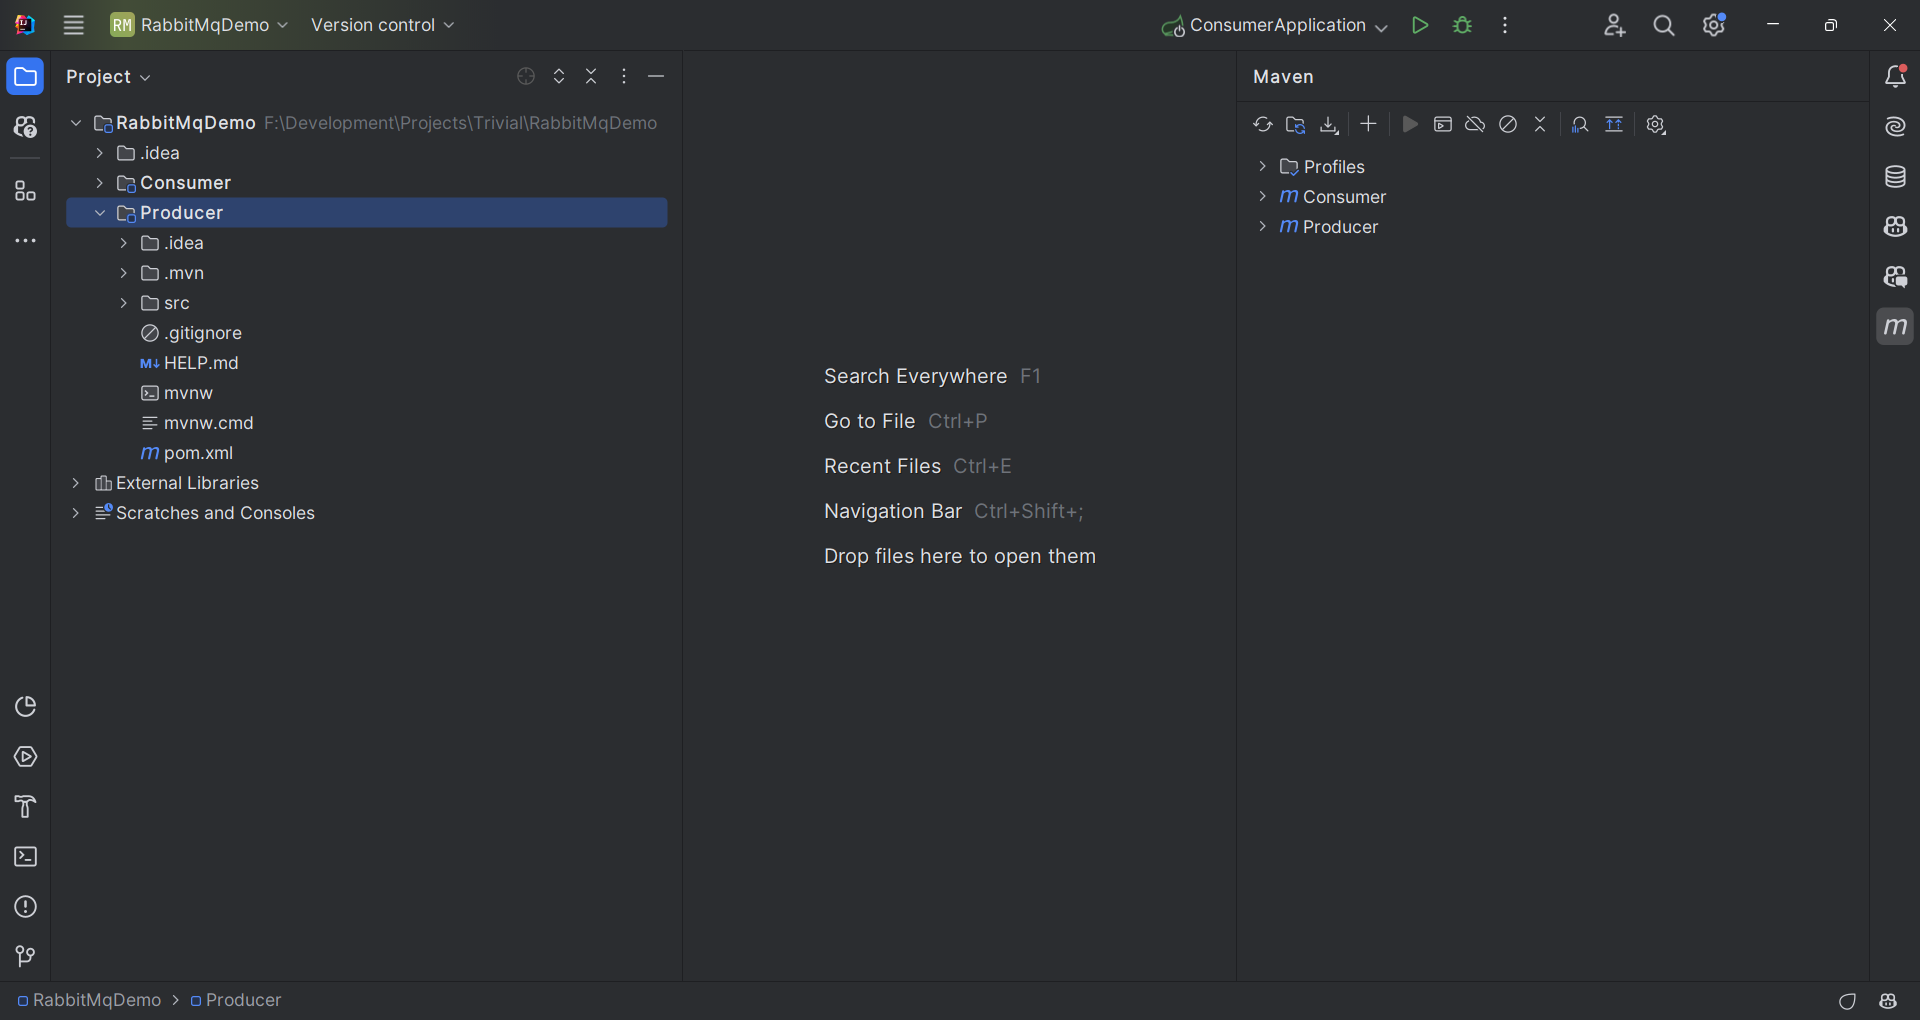
After that, you’ll get a nice workspace.
The Spring Initializer provides you with a HELP.md with tutorial links, but some links may be expired. So here are some valid links that can be of help.
The Producer
Project setup
Let’s implement producer first. Here, the application.yaml may look like this.
1 | spring: |
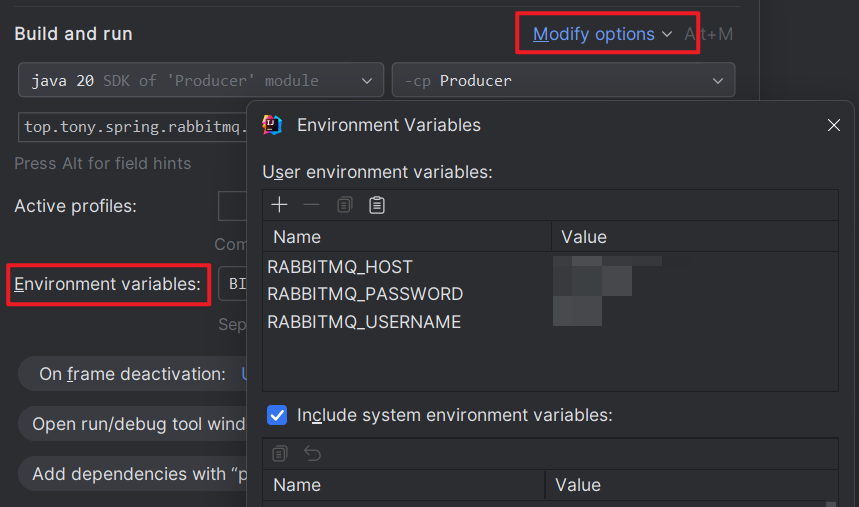
By the way, here is a tip to protect sensitive data from leaking. You can use environment variables in your configuration file and set them in IDEA Run Configuration.
RabbitMQ configuration
Then, let’s create the RabbitMQ configuration. We can add queue and exchange in code so we won’t bother accessing the management dashboard. For demonstration purposes, I use both exchange and queue, in which an extra binding must be declared. Otherwise, you can simply use a bare queue.
1 |
|
Note that these classes are imported from package org.springframework.amqp.core, not RabbitMQ.
Here I’d like to explain some parameters. The signatures of
ExchangeandQueueare given below.
2
public Queue(String name, boolean durable, boolean exclusive, boolean autoDelete)
durablemeans that the exchange or queue will survive a broker restart. That is to say, they won’t be deleted if the broker somehow shutdown and restart.
autoDeleteindicates that the resource will be deleted automatically if not used. For exchange, it will be deleted if it is no longer bound to any queue. And for queue, it will be deleted when the last consumer unsubscribes from it.
exclusivemeans that the queue can only be used by the connection that declares it, a private queue.
Besides, we also need to configure the message template to send messages. Here we use @RequiredArgsConstructor to eliminate the long and verbose injection. Also, we use a JSON serializer to support complex message payload.
1 |
|
Send the message
Now, it’s time to actually send our message to the queue. First, let’s declare the message to send.
1 |
|
Then, create a simple RESTful controller with RabbitTemplate injected.
1 |
|
The basic way to send a message is via convertAndSend(String exchange, String routingKey, Object object). If you use a bare queue, then the exchange should be an empty string "", and the routingKey will be the name of the queue, because RabbitMQ has a built-in exchange for direct access to queues.
After finishing the controller, run the application, and switch to the Endpoints tab to send the request. And we can see the endpoint returned OK.
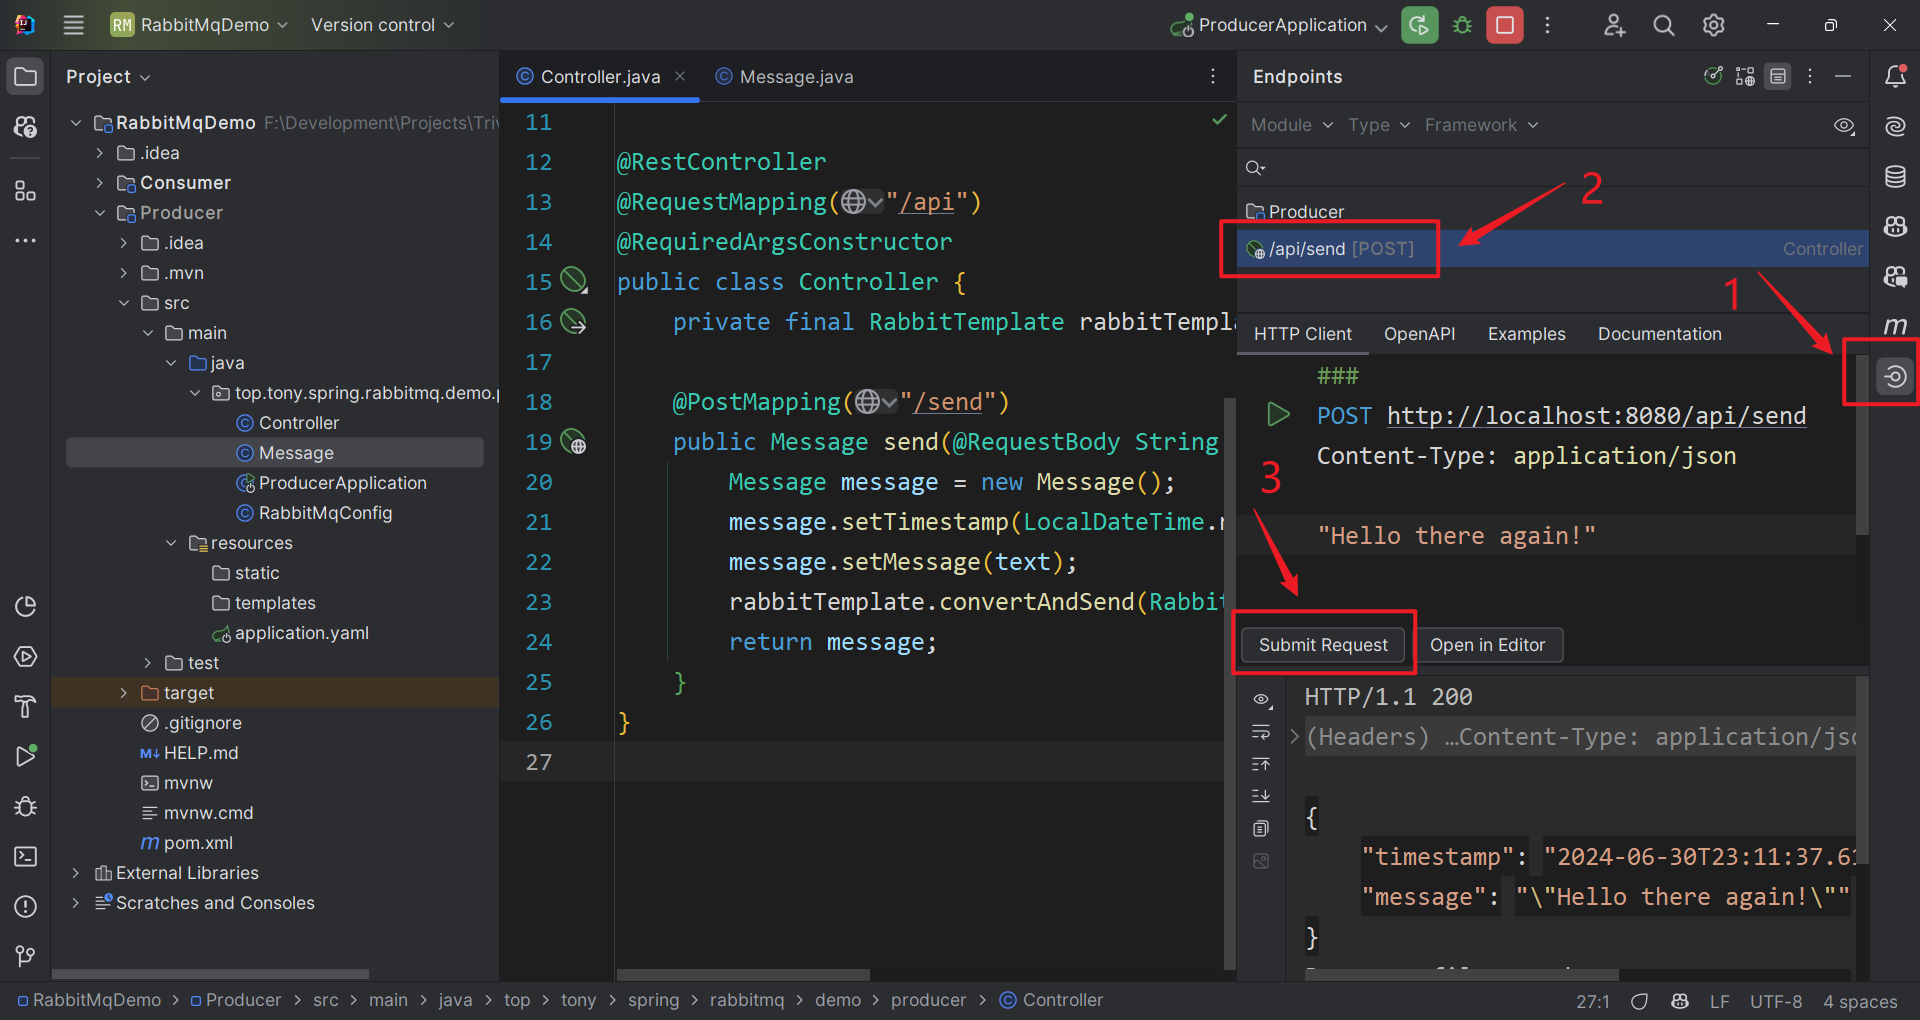
I think it’s a fancy feature to allow API testing just in the IDE. 😍
Then go to the RabbitMQ dashboard to check if the message is sent or not. And of course, it does. 😋
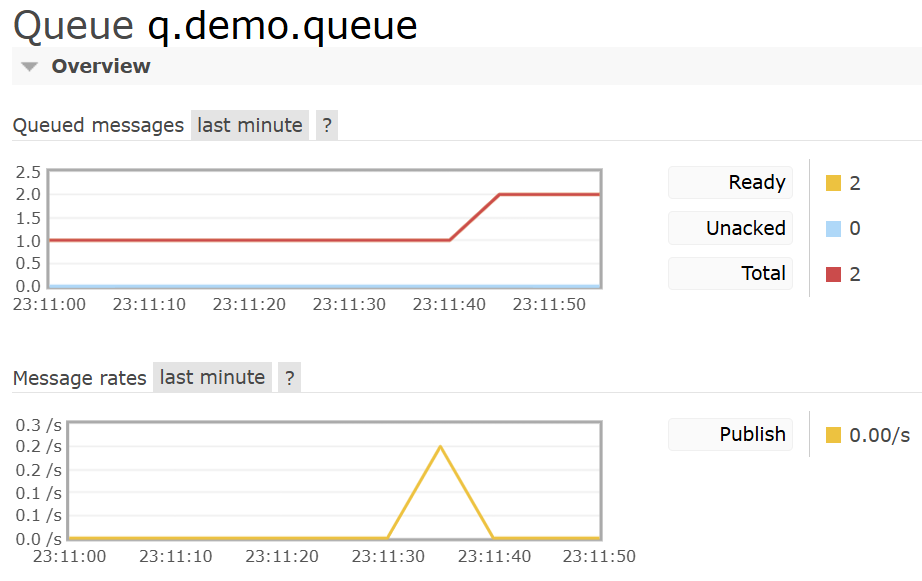
Well done, my friend!🍻Next is to consume the messages we produced.
The Consumer
Project setup
The project configuration is identical to that of the producer. But to demonstrate the multiple consumer scenario, the port is set to 0 means random to avoid conflict. After all, the port matters not as we communicate through message queue.
1 | spring: |
Then, the RabbitMQ configuration is also identical to what we defined just now. Just copy them here. What’s more, you may need to copy the message payload class, too.
Copy and paste?🤨Really? Yeah, that’s the case when you use separated applications. You just need to define everything multiple times. But it indeed provides cross language ability.
Receive the message
As we mentioned just now, we have to define duplicated classes cross sender and receiver. However, it doesn’t mean the two classes are identical, as long as serialization works. So, in this case, we can define a slightly different message to have a custom toString method using Lombok.
1 |
|
To receive the message, we need a listener on the queue, which is a special service.
1 |
|
In this case, we define a listener on the queue we declared. And that’s it, simple, huh?
Lunch a producer and two consumers, trigger the endpoint to send messages. We can see that the messages are evenly consuming them.
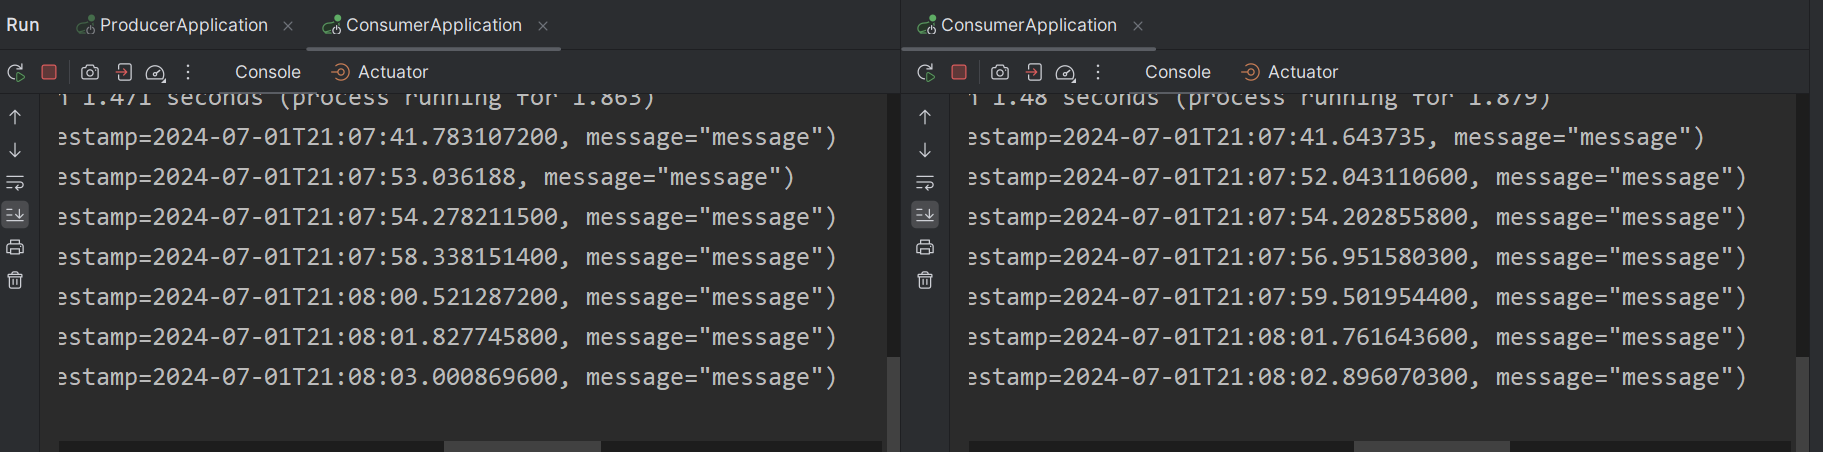
If you start more consumers, you may find that it is round-robin. Consumers consume the message one after another.
Tada, you made it! 🎉
More About RabbitMQ
There are many ways for exchange to deliver message to the queue. Here we use “direct”, which means the message will be sent to the queue bind with the routing key.
There are three types of delivery.
- “fanout” (
FanoutExchange): messages will be delivered to all queues bind to the exchange with no condition. - “direct” (
DirectExchange): messages will be delivered to queues bind with the same routing key. Will be discarded if no match. - “topic” (
TopicExchage): same as “direct”, but will match by.separated pattern. For the pattern,*matches exactly one word, and#matches zero or more words.
These three, plus bare use of a queue, are sufficient for common scenarios. RabbitMQ also supports more advanced RPC call, but I guess it’s not the point today.
Epilogue
“Use it or lose it.” Now you’ve “mastered” RabbitMQ, use it in your next project! Good luck! ᓚᘏᗢ


