Connecting to JumpServer With VSCode
Scenario
In the Operating System course of BUAA, we have to write our code in the JumpServer using Vim. Of course, Vim is a good editor, but it is too geek for beginners. And through a single console, we cannot gain a global glimpse of all codes.
One of the best solution is to clone the repository to your local machine. And with the help of WSL (Windows Subsystem for Linux), we can run Linux commands in Windows. Plus, with Visual Studio, and even ReSharper, you’ll have unparalleled C/C++ development environment.
However, if you don’t want to set up WSL environment, there is another option, that is connecting to the JumpServer via SSH using Visual Studio Code. In this post, I’m going to show you how.
Connecting to the JumpServer
You should have Visual Studio Code installed already. 😀
Step 1. Setting up SSH
The connection with the JumpServer is based on SSH, so you should have SSH client installed on your local machine. To be more specific, you should have OpenSSH 9.0 or higher. You can use ssh -V to check the version on your PC.
1 | > ssh -V |
If you don’t have it, or the version is too low, go to its release page to download the latest distribution. You can download .msi installer if you want an automatic installation.
Select the correct version depending on the architecture of your PC.
After installation, use ssh -V again to check if everything works well. If you still don’t have the command, add the installation path of OpenSSH (e.g. C:\WINDOWS\System32\OpenSSH\) to the system Path variable.
If you don’t know how to add system environment variable, go search it on the Internet. 😉
For Windows users, the configuration files of SSH are located under C:\Users\{Your Username}\.ssh\ directory. We’ll use it real soon.
Step 2. Getting the IP & Key
To connect to the JumpServer, we need to know its IP and public SSH key.
Getting the IP
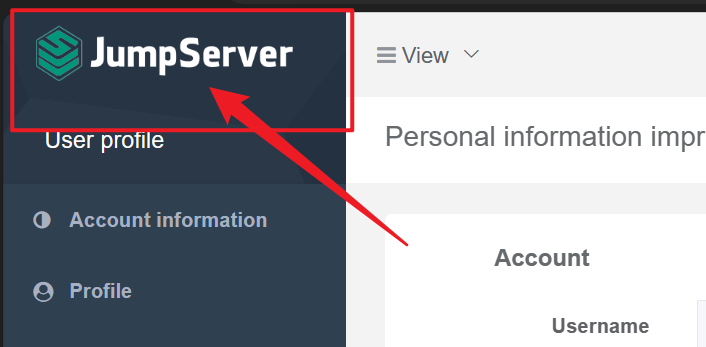
Go to the JumpServer dash board, click the title on the top-left corner to the workbench page.
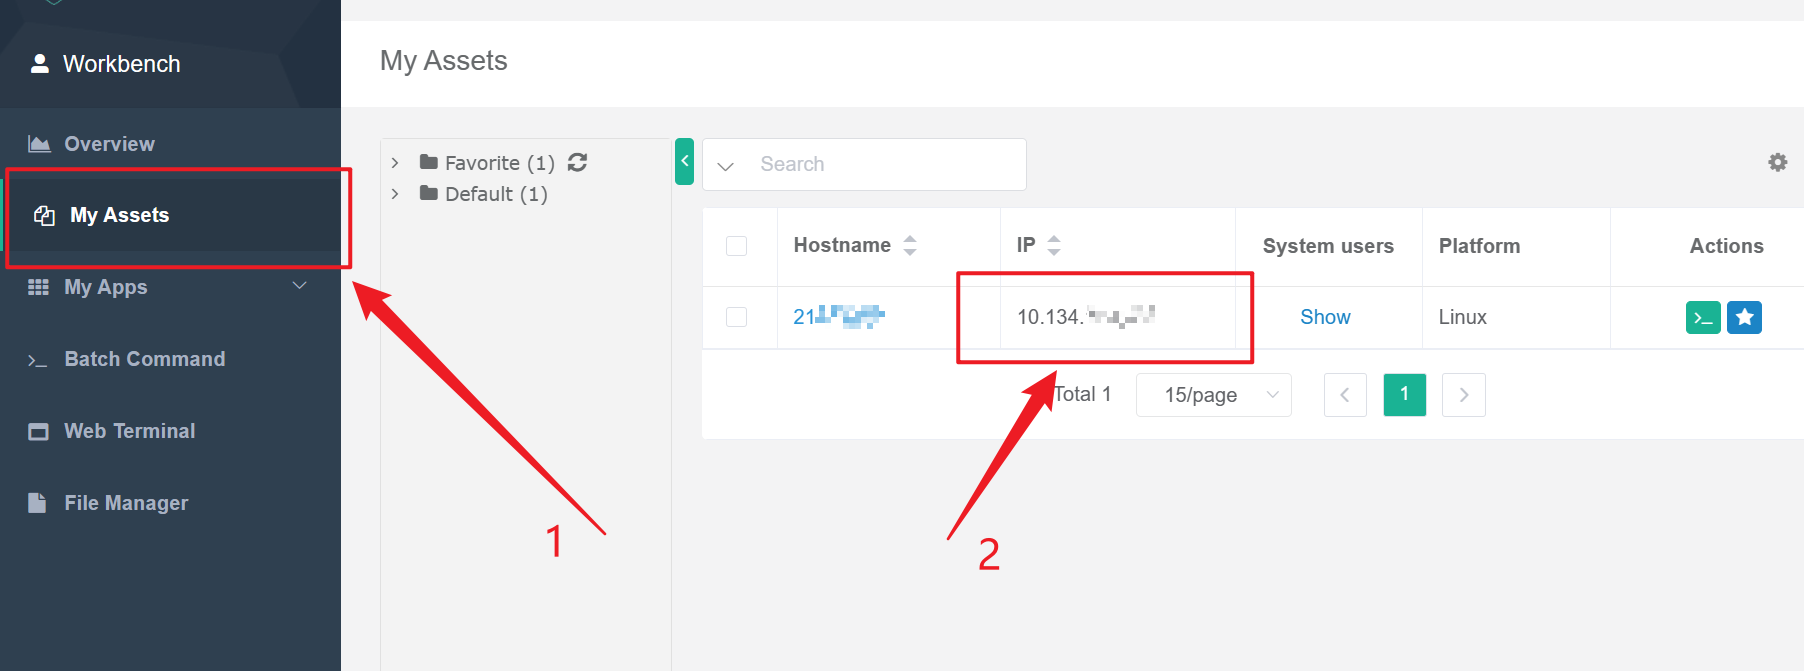
Then, in the workbench page, go to “My Assets” section, you’ll see the IP of your server. Keep it, we’ll use it later.
Getting the Key
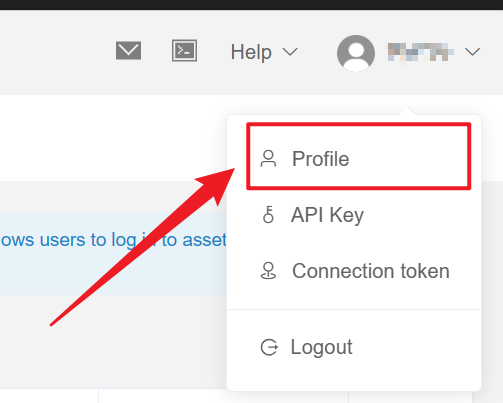
On the top-right corner, click your name, and go to “Profile” page.
Then, in the profile page, go to “Auth settings” section, click “Reset” to reset your public key, and download it.
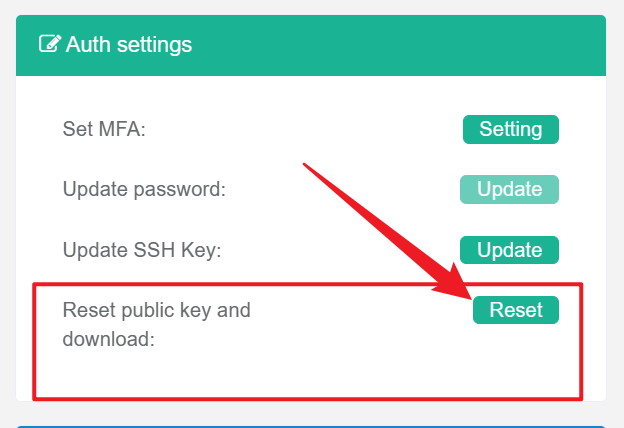
It should be a .pem file. Save it to your SSH directory, it should be C:\Users\{Your Username}\.ssh\ as we mentioned before. If that directory doesn’t yet exist, create one. Let’s call it os-jumpserver.pem.
Step 3. VSCode Coming up!
Configure Extension
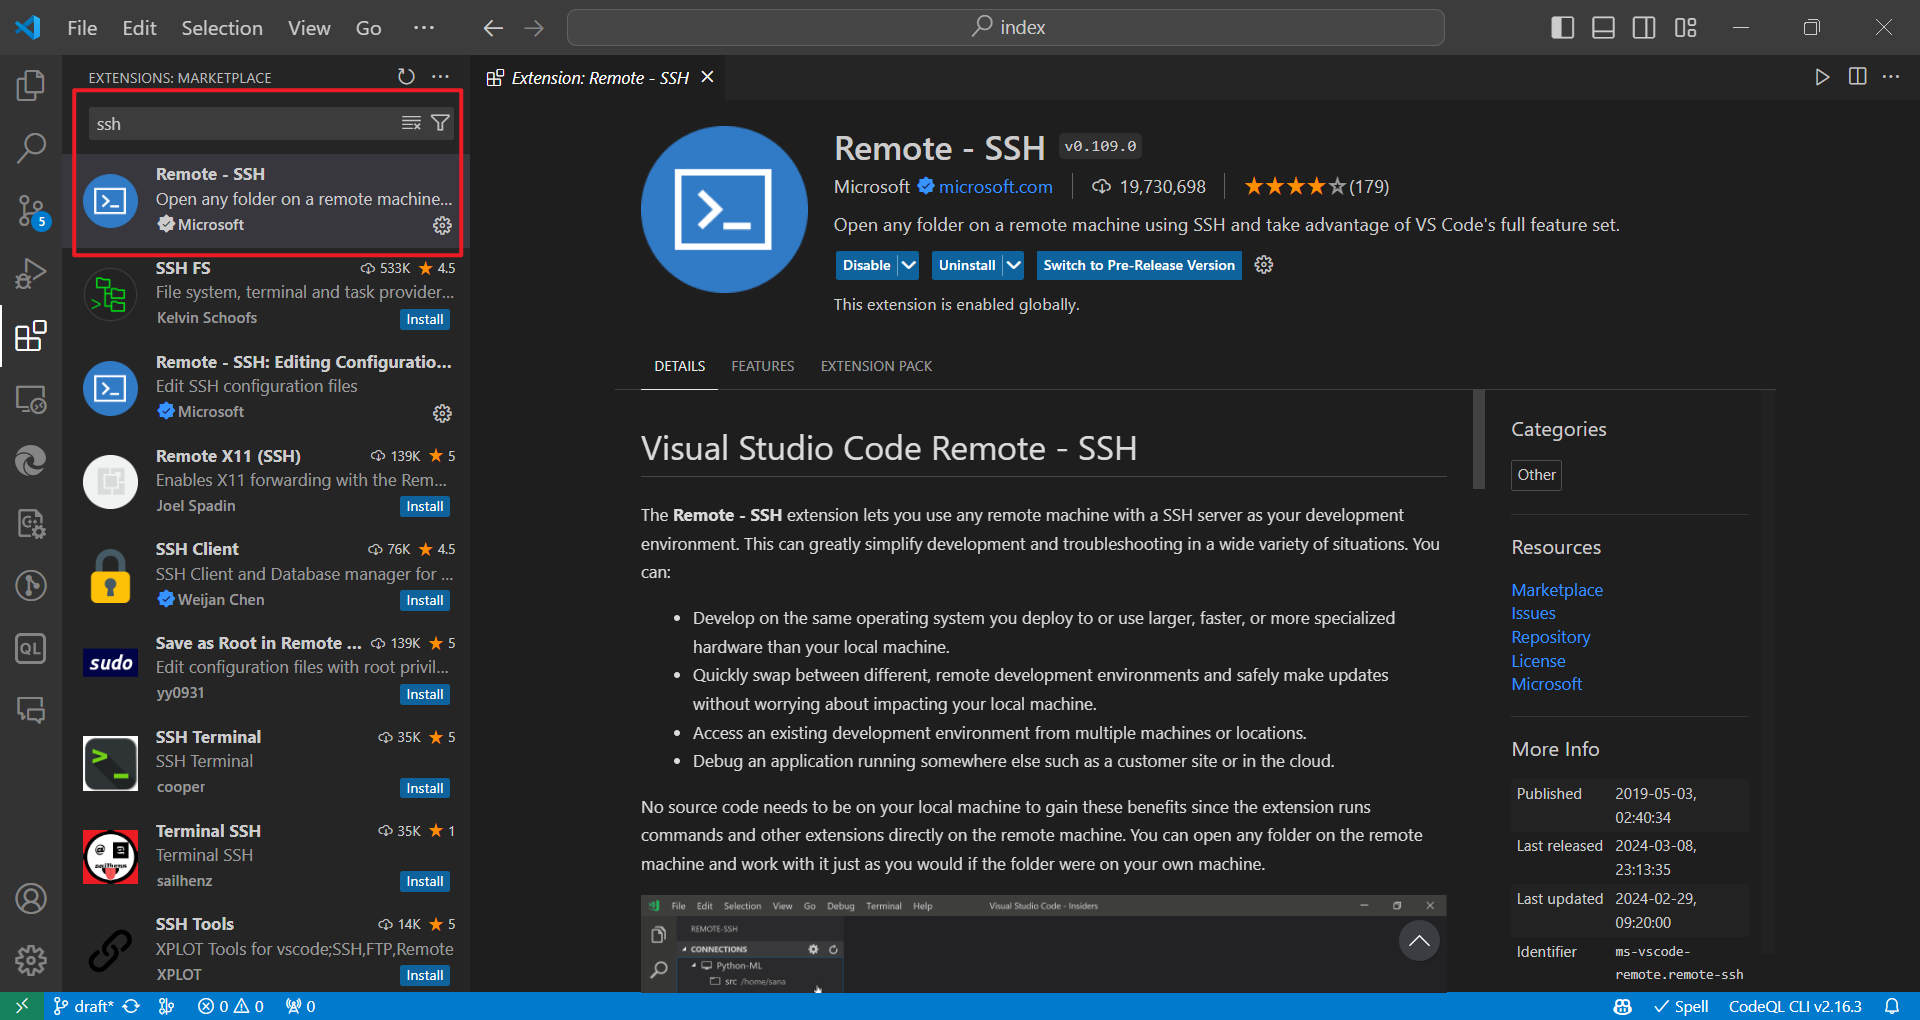
Now, we have enough information to connect to the JumpServer in Visual Studio. First, make sure you have “Remove - SSH” extension installed.
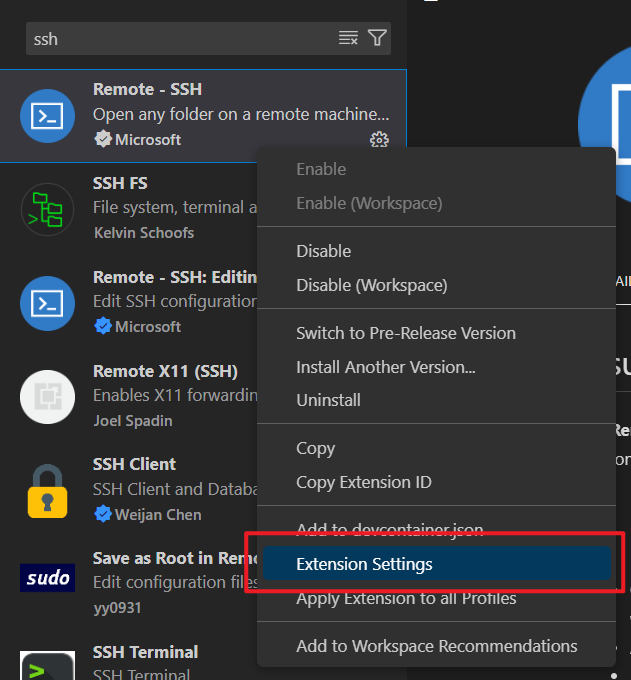
After installation, right click on it and open its settings.
Find “Local Server Download” option, and select “always”. Because the JumpServer is not connect to the Internet, so we cannot download VSCode server on the remote host.

Then, find “Server Install Path” option, click “Add Item” to add a new entry with name “OS-JumpServer” (the SSH connection name you’re going to set later). The value MUST be /{your student id}.
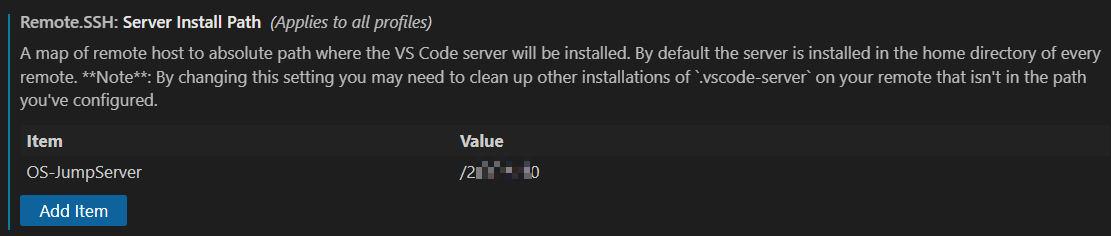
The JumpServer seems to only allow file upload to /{your student id} directory, so you must manually set the install path.
Setup SSH
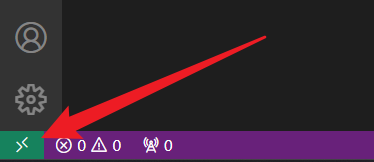
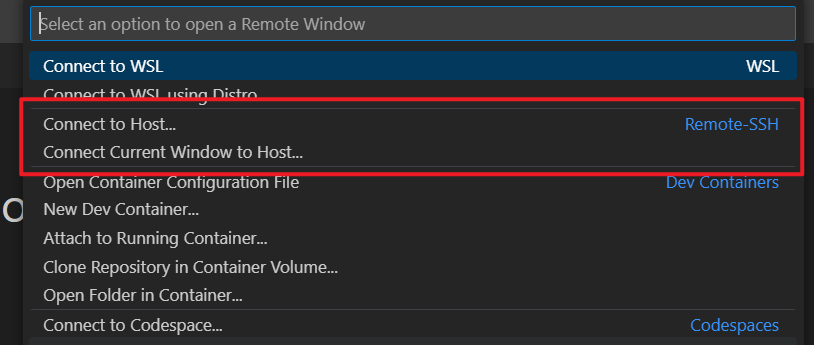
Click the “Terminal Icon” on the bottom-left corner to start a remote connection.
Then, you should choose “Connect to Host”, or “Connect Current Window to Host…”. The first one will open a new VSCode window.
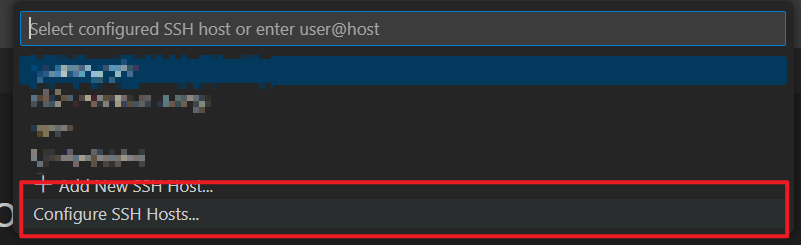
Then, select “Configure SSH Hosts…”, and select your SSH configuration file.
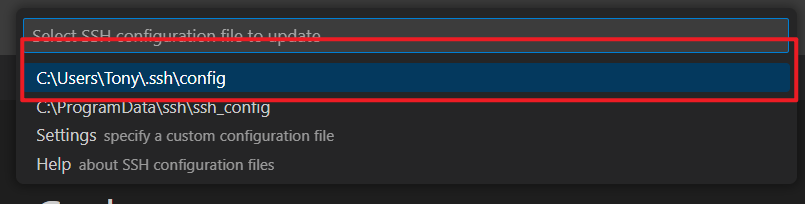
The config file will be opened in VSCode, add the following section to it. Replace the info with your student ID and JumpServer IP. And of course, if you use a different name for that .pem file. Now save and close it.
1 | Host OS-JumpServer |
Now, start a remote SSH connection again, and you’ll see our new profile.
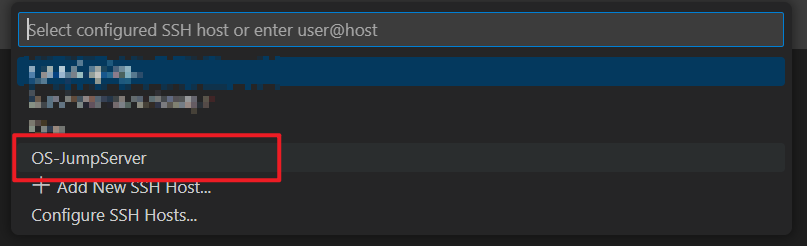
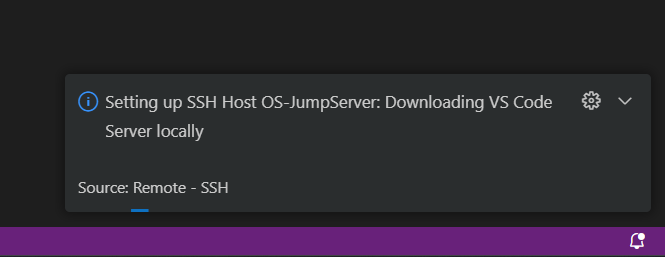
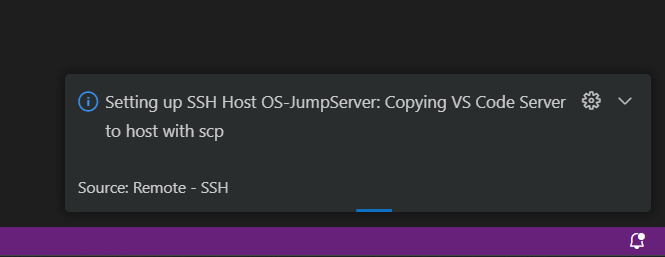
Click it, and Visual Studio Code will start to download the VSCode Server, and then upload it to the JumpServer.
It may prompt you to choose the Operating System of the remote host, just select Linux. And if everything works well, you’ll be able to connect to the JumpServer! 😆
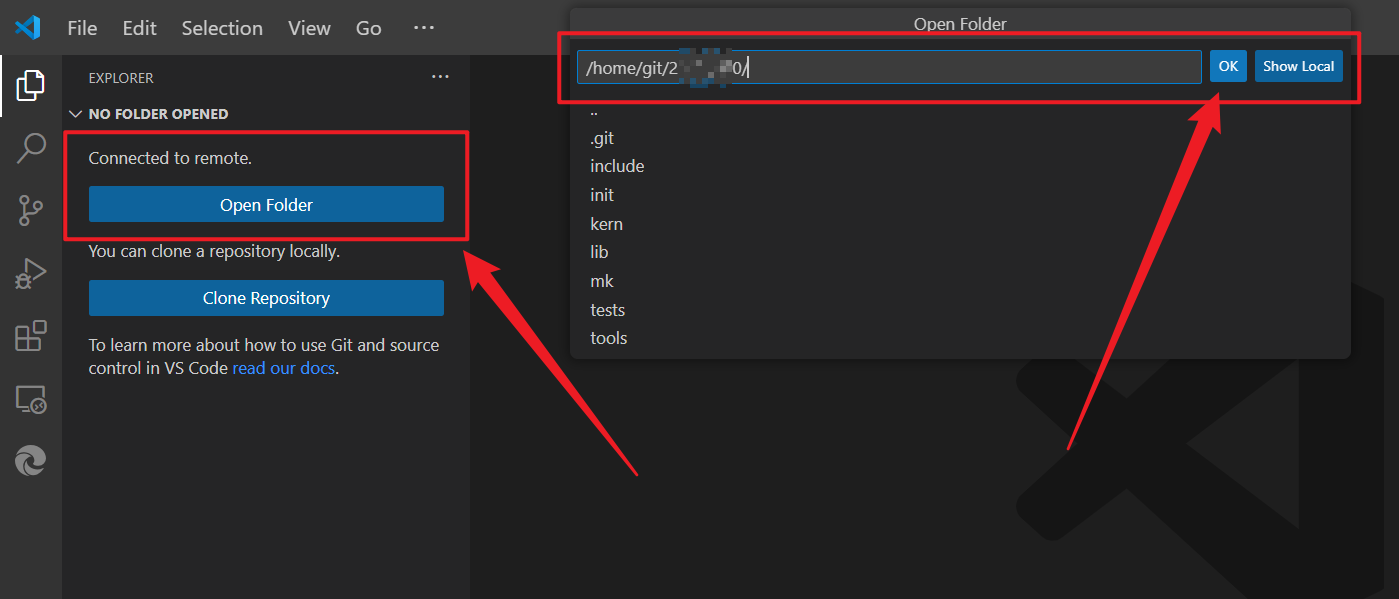
Open folder in VSCode
Then everything is the same as you do on your local machine. Just open the working directory in VSCode, and you can start coding!
Step 4. Install C/C++ Extension (Optional)
If you want a better coding experience in the JumpServer, you can install C/C++ extension for VSCode.
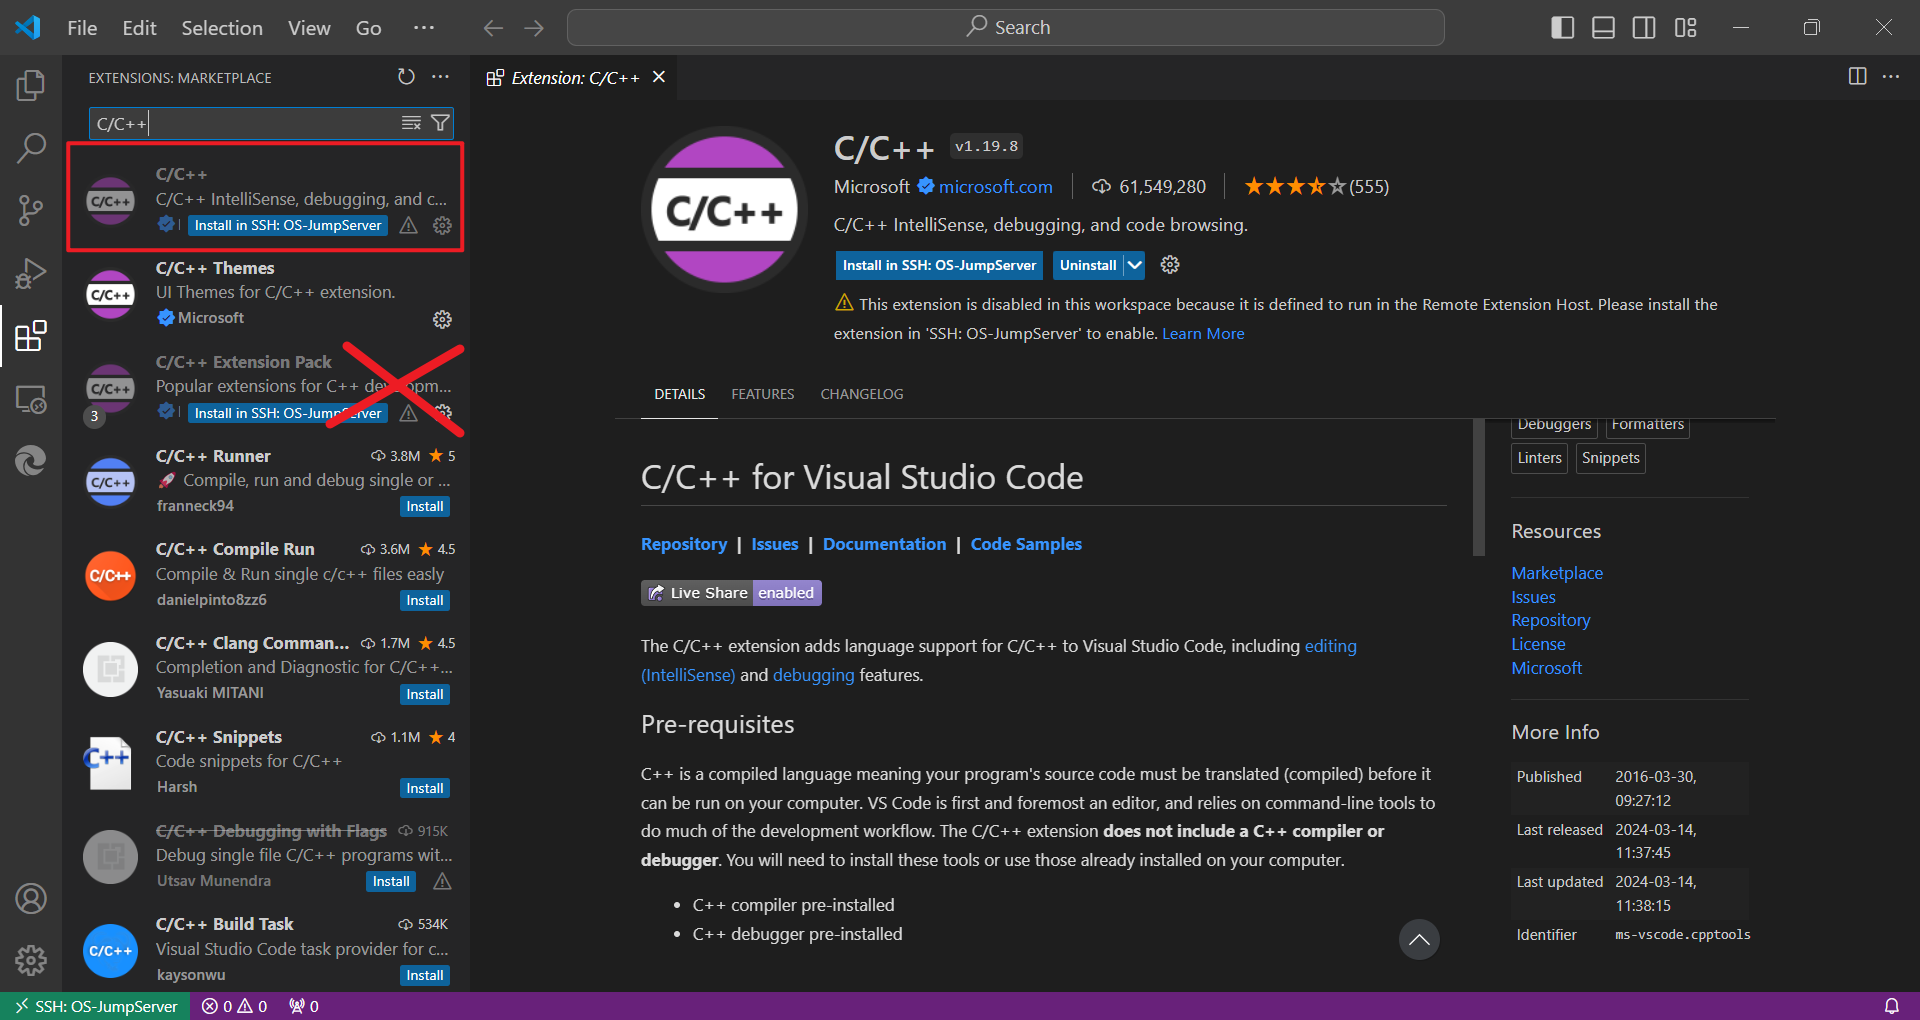
Don’t install C/C++ Extension Pack, which is too heavy for the JumpServer.
As the JumpServer may not be able to download it, you can upload the VSIX installer to the JumpServer and install it manually. The download page for the extension can be found here: C/C++ for Visual Studio Code. After you get the installer, use scp command to copy it to the remote server.
1 | scp ms-vscode.cpptools-1.19.8@linux-x64.vsix OS-JumpServer:/{your student id} |
Still, you can only upload it to /{your student id} directory.
In VSCode extensions tab, click “Install from VSIX…”. Then go to /{your student id} directory to find the VSIX installer. After installation, you’ll be prompt to reload Visual Studio Code.

Bonus
If you want to upload files to the JumpServer, you can use the scp command as we’ve seen above.
Suppose you named the SSH profile “OS-JumpServer” as I did earlier, and your student ID is 22345678, then the scp command may look like this.
1 | # Upload a single file |
Remember to modify the command depending on your situation.
Epilogue
Well, I guess this is it. Now you can write your code with GUI instead of TUI or CLI. Enjoy. 🫡
 WeChat


